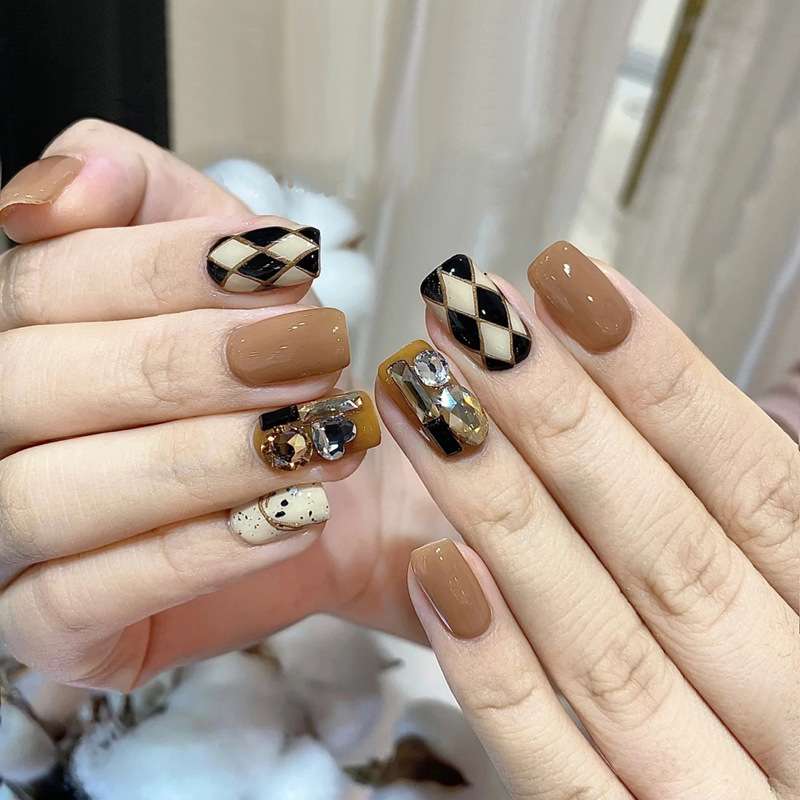
10 steps to becoming an awesome creative nail art designer making your nail salon always overoccupied, PLEASE NOTE, this post is TOO IMPORTANT to ignore!
Designing creative nail art requires a combination of imagination, skill, and attention to detail. Here are some steps to help you get started:
- Gather inspiration: Look for inspiration in various sources such as fashion magazines, social media platforms (like Pinterest and Instagram), art galleries, nature, or even everyday objects. Create a mood board or save images that catch your eye.
- Nail preparation: Start by preparing your nails. Clean them thoroughly and shape them to your desired length and style. Trim and file your nails, push back the cuticles, and buff the surface to create a smooth canvas for your nail art.
- Choose your color palette: Decide on a color palette that complements your inspiration or the overall theme you want to achieve. Consider the occasion, your outfit, or your personal preferences. You can opt for a monochromatic look or experiment with contrasting or complementary colors.
- Select your tools and materials: Gather the necessary tools and materials from your nail salon, for your design. These can include nail polish, nail art brushes, dotting tools, striping tape, stencils, rhinestones, glitter, and other embellishments. Make sure you have a good-quality base coat and top coat to protect and seal your design.
- Plan your design: Before you begin painting, sketch out your design on paper or create a digital mock-up. This will help you visualize the placement of nail colors, patterns, and any intricate details. It’s also essential to consider the size and shape of your nails to ensure the design fits well.
- Start with a base nail color: Apply a base coat of your chosen color to all your nails. Allow it to dry completely before moving on to the next step. A base coat not only protects your nails but also provides a smooth surface for the design.
- Experiment with techniques: Get creative with various nail art techniques. Some popular techniques include:
- Freehand painting: Use thin brushes or nail art pens to create intricate designs directly on the nail.
- Stamping: Utilize special stamping plates, stamping polish, and a stamper tool to transfer pre-designed patterns onto your nails.
- Dotting: Dip a dotting tool or a bobby pin into different-colored polishes to create dots or intricate patterns.
- Tape or stencil: Use striping tape or nail art stencils to create crisp lines, geometric shapes, or negative space designs.
- Water marble: Create marbled effects by dropping different colors of nail polish onto water and swirling them together before dipping your nail into the design.
- Add details and embellishments: Once the base design is complete, add extra details and embellishments to enhance your nail art. You can incorporate rhinestones, studs, glitter, or even hand-painted accents like flowers, stripes, or abstract patterns. Apply a top coat to seal and protect your design.
- Practice and experiment: Nail art is a skill that improves with practice. Don’t be discouraged if your first attempts aren’t perfect. Keep experimenting with different techniques, color combinations, and designs to find your own unique style.
- Care and maintenance: After completing your nail art, take care of your nails to ensure longevity. Apply a top coat every few days to maintain the shine and protect the design. Avoid exposing your nails to excessive water, harsh chemicals, or activities that could damage or chip the design.
Remember, the key to creating creative nail art is to let your imagination run wild, practice regularly, and have fun with the process.

